Roof Replacement Process: A Step-by-Step Guide
If you’re planning a roof replacement, understanding the roof replacement process is key to making informed decisions and ensuring a smooth project. Whether you’re replacing a worn-out roof or upgrading your home, knowing what to expect during the roof replacement process will help you prepare effectively and minimize any disruptions.
Roof Replacement Process: The Basics
The roof replacement process involves several key stages that require careful planning and execution. Let’s break down the roof replacement process so you can better understand the steps involved and the timeline for your project.
Step 1: Initial Roof Inspection
Before the roof replacement process begins, the first step is a thorough inspection by a professional roofing contractor. During this inspection, the contractor will evaluate the current state of your roof, looking for signs of damage, deterioration, and overall structural integrity.
What to Expect:
-
The roofer will examine the roof’s shingles, decking, and structure.
-
A report will be provided with an estimate for the roof replacement process, including costs and timelines.
-
If repairs are needed before the full replacement, the roofer will recommend them.
Step 2: Roof Removal
The next phase of the roof replacement process is removing the old roofing materials. This step involves stripping away the old shingles, underlayment, and, in some cases, the roof decking.
What to Expect:
-
The roofing team will remove the old roof, taking care to dispose of the debris.
-
This step typically takes one to two days, depending on the roof’s size and complexity.
Step 3: Deck Inspection and Repair
Once the old roofing materials are removed, the roofer will inspect the roof deck (the surface beneath the shingles). If any areas are damaged or weakened, repairs will be made before continuing the roof replacement process.
What to Expect:
-
Damaged sections of the deck will be replaced or reinforced.
-
This step ensures a solid foundation for the new roof.
Step 4: Underlayment Installation
After the deck is secured, the roofer will install the underlayment. The underlayment acts as an additional layer of protection against moisture and water penetration during the roof replacement process.
What to Expect:
-
The underlayment is rolled out and secured over the roof deck.
-
It serves as a secondary water barrier and helps with thermal insulation.
Step 5: Shingle Installation
Now that the underlayment is in place, the main part of the roof replacement process begins—shingle installation. The roofing team will begin placing the new shingles, starting from the bottom and working upward to ensure proper overlap and coverage.
What to Expect:
-
The roofer will install the shingles or other chosen roofing material, ensuring each layer is properly aligned.
-
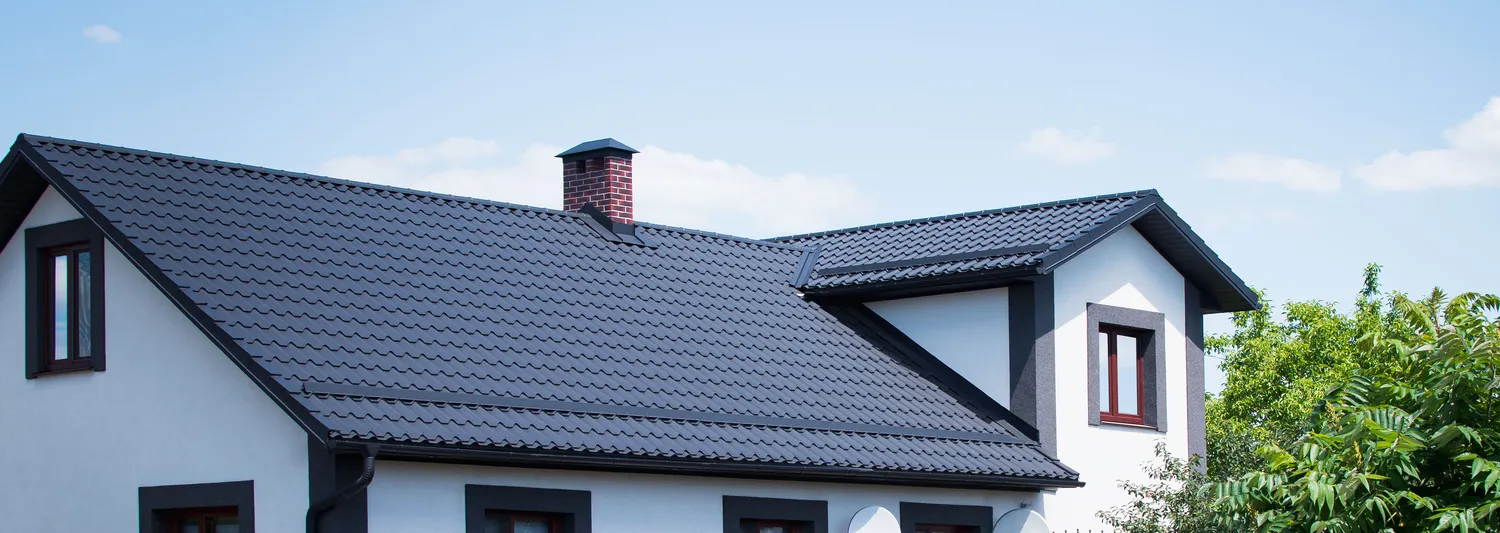
The material used may vary, from asphalt shingles to metal or slate, depending on your selection.
Step 6: Flashing and Ventilation
The roof replacement process also involves installing flashing around critical areas such as chimneys, vents, and skylights to prevent leaks. Proper ventilation is also crucial to the roof’s longevity, so the contractor will check and install vents if necessary.
-
Flashing is installed to seal gaps and prevent water infiltration.
-
Ventilation is checked to ensure there is proper airflow in the attic and roof space.
Step 7: Final Inspections and Cleanup
Once the new roof is fully installed, the roof replacement process culminates with a final inspection. The roofing contractor will review the work to ensure it meets safety and quality standards.
What to Expect:
-
The contractor will check for loose shingles, gaps in flashing, and other possible issues.
-
Any debris from the roof removal will be cleaned up, and the area will be cleared.
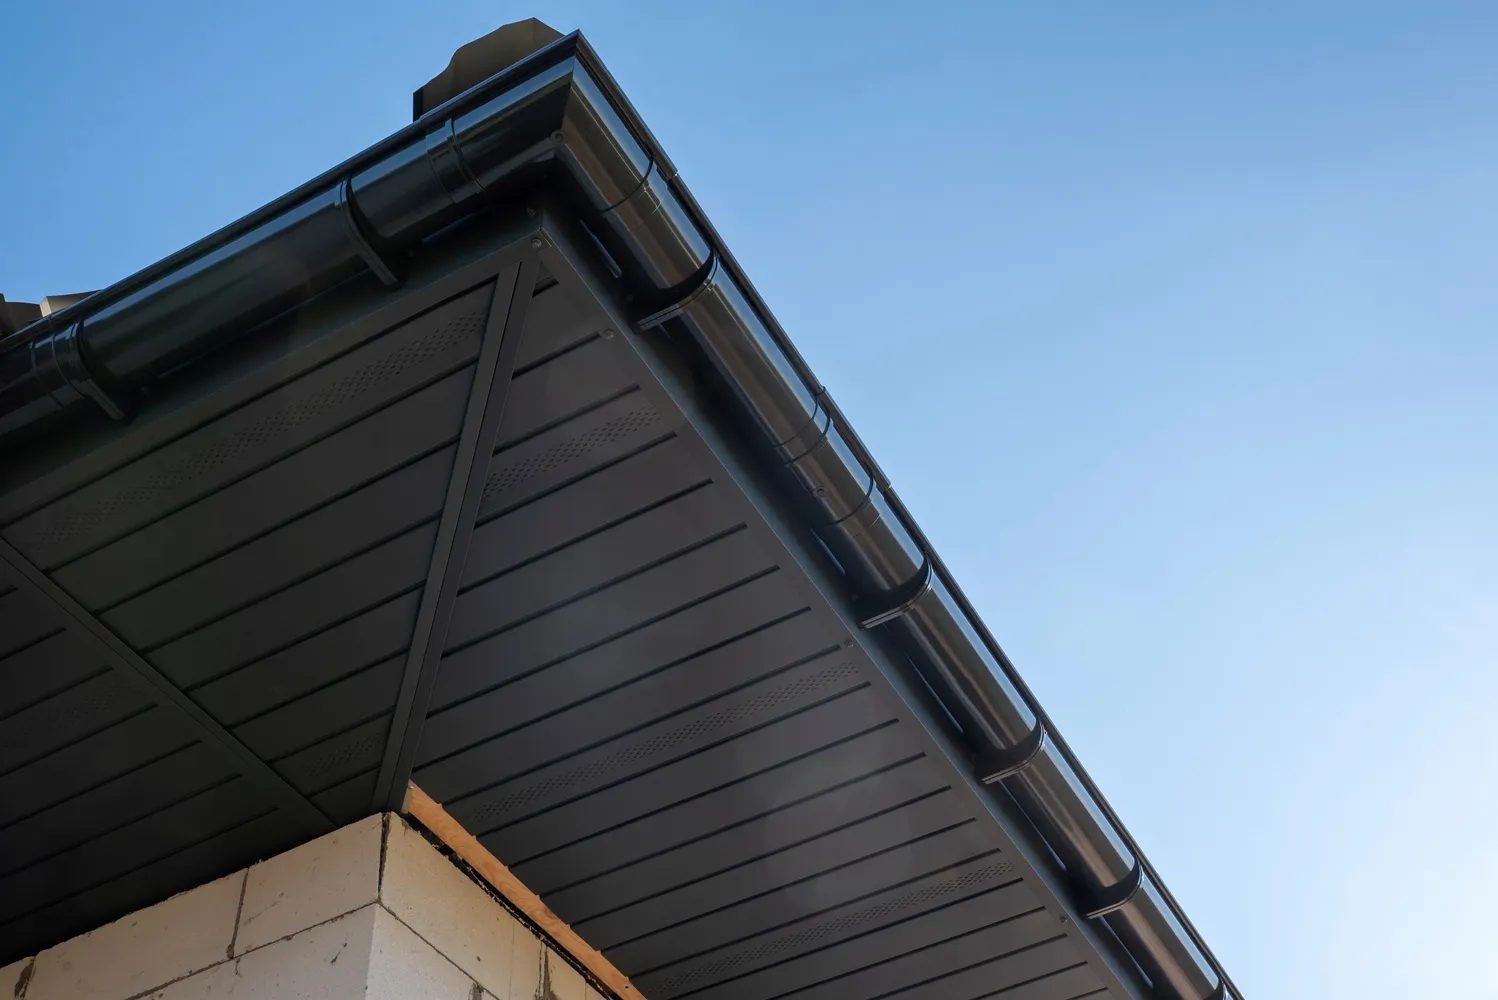
Step 8: Gutter and Finishing Touches
In some cases, the roof replacement process will include the installation or replacement of gutters. The contractor will ensure proper drainage to prevent water damage.
What to Expect:
-
New gutters may be added or old ones repaired to complement the new roof.
-
A final inspection of the entire roof system will ensure all components are properly installed.
How Long Does the Roof Replacement Process Take?
The timeline for the roof replacement process can vary based on factors such as the size of your roof, weather conditions, and the complexity of the project. On average, most roof replacements take between one to seven days. Smaller homes may be completed in one or two days, while larger or more complex roofs could take longer.